Garage floor coating preparation in Houston: what happens first?
The finished color is the part everyone sees. The preparation underneath is what gives the coating a clean surface to bond to. Here is what homeowners should expect before installation starts.
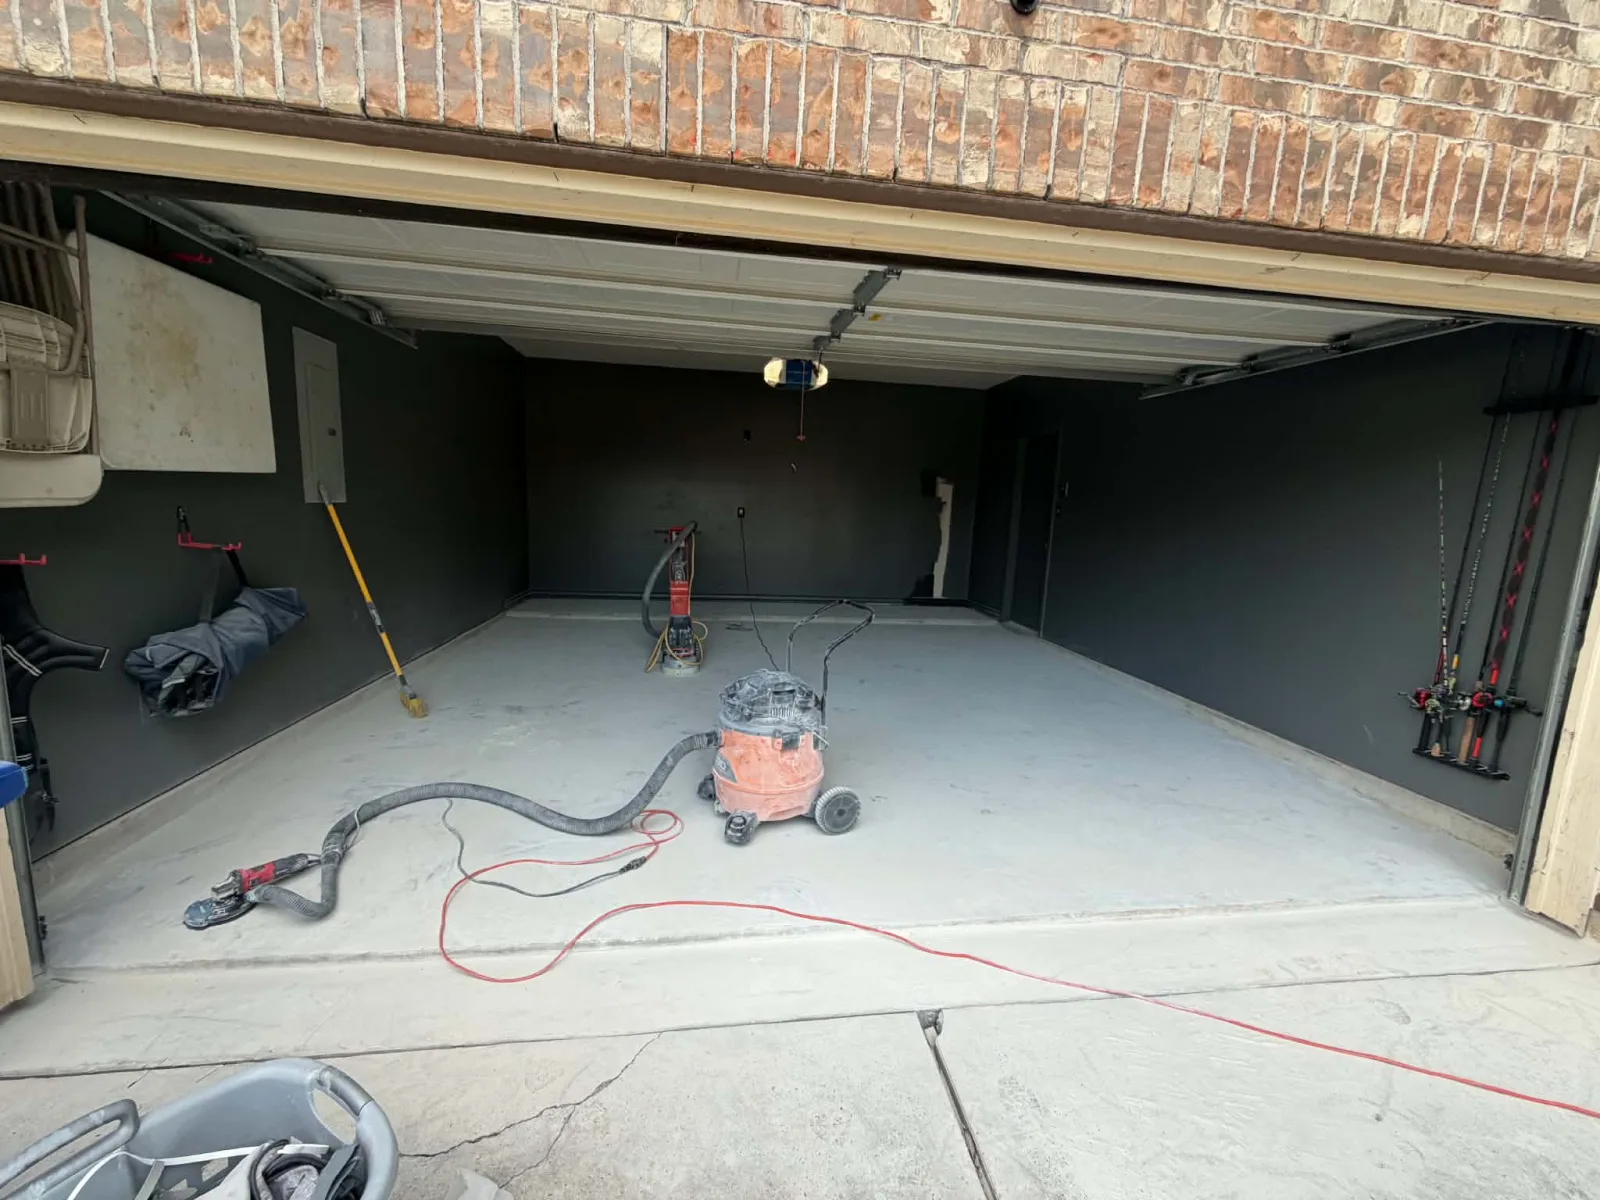
A garage slab is not ready for coating just because it looks swept. Dust, oil, old sealer, paint, curing compounds, weak concrete, and moisture can all affect the result. Preparation is a sequence of checks and surface work that should match the coating system being installed.
1. Inspect the slab and the space
The first step is an honest look at the concrete. The installer should note cracks, control joints, spalled areas, old coatings, low spots, drainage, the garage entrance, and places where the floor meets walls or other materials. Access, temperature, humidity, and the amount of sunlight entering the garage can also affect scheduling.
This is also the time to confirm the finish and the written scope. A black flake floor with coated edges has different details from a simple gray floor that stops at the slab.
2. Remove contamination and weak material
Oil and grease can keep a coating from bonding. Loose paint, dust, curing compounds, and weak surface paste can create the same problem. The slab needs to be clean, sound, and dry enough for the selected product. Cleaning is important, but cleaning alone does not create the profile many coating systems require.
3. Prepare the concrete surface
For bare concrete, Simiron system guidance calls for diamond grinding or shotblasting to a concrete surface profile appropriate for the system. The Simcrete SF guide, for example, specifies a CSP 3 to 5 or greater profile for new or bare concrete. That profile gives the coating more usable surface to grip than a smooth slab.
The exact method depends on the slab and the products in the proposal. Ask whether the floor will be ground or shotblasted, how dust will be collected, and what surface profile the selected system requires. The important part is that the method is explained instead of hidden inside a vague word such as “prep.”
4. Address repairs, cracks, and joints
Small cracks, holes, and spalled areas may need a compatible repair material before the coating is applied. Control joints and expansion joints are different. Some can be filled and coated, while movement joints need to remain functional. A coating can follow a crack later if the slab keeps moving, even when the original repair was neat.
Simiron’s system guides call for repair areas to be skim-coated when needed and for isolation, expansion, and movable joints to be honored with the appropriate joint material. That is why a site visit is more useful than promising that every crack will disappear.
5. Check moisture and the return-to-use plan
Concrete can look dry while still transmitting moisture. Product requirements vary, so the installer should review the moisture condition against the selected system. Simiron’s guidance notes that a moisture vapor barrier may be needed when slab conditions exceed the system’s limits.
Preparation also includes planning the cure schedule. Walking, moving light items, and parking a vehicle are separate milestones. The written instructions should come from the product system and the conditions on the day of installation.
6. Protect edges and transitions
Clean lines at the walls, stem walls, drains, and garage entrance are part of the finished job. Tape and termination details help keep the coating where it belongs. If you want coated edges or a transition at the driveway, put that in the written scope before work begins.
Ask this before approving a proposal: “What will you do to prepare this slab, and which repairs, edges, joints, and moisture conditions are included?” A clear answer is more useful than a generic promise about the finished floor.
The bottom line
Good preparation is not one step. It is inspection, cleaning, mechanical surface work, repairs, moisture review, and careful termination details. When those steps are matched to the Simiron system being used, the finished garage floor has a better starting point.
This article is general education. The selected manufacturer’s current technical data and an on-site evaluation should guide an actual project.
Want a clear recommendation for your garage?
Talk with Carnar Epoxy about the slab, the finish you want, and the next step.
Request a free estimate